Showing posts with label buttons. Show all posts

Tuesday, 17 April 2012

Zakka Style Pin Cushion

creative pin work done by son Duncan
Oh how I wish that the Zakka Style Sew - Along had begun with this project. It may be the simplest in the whole book. What a joy it was to make! This week is hosted by Ayumi Mills of Pink Penguin and her post has some nice tips and clear photos of some things to consider. Bless her! She is also an expert at fabric stamping (which I left out of my pin cushion entirely).

My Fabric Choices

Yesterday I received another fabric package from Etsy. This time from Sina who runs Quilt Essentials. Once I opened out this olive green retro clock print in linen, I was smitten and inspired to use it on this project. It's called 'Clocks in Green' Ruby Star Shining by Melody Miller for Kokka.
Sadly my linen is still crossing the Pacific, so I cut up a tea towel.
Both fabrics for my buttons were from op-shop grab bags. They are both so retro 70s I couldn't resist including them in this project either. The orange and brown flower is made in funky corduroy.
 I had no lace but perfect orange rack rack from a discount bin at a local Janome store.

Zakka Style Pin Cushion Visual Support

1. Cut the fabric and interfacing.
2. Iron on the interfacing and sew the front 2 pieces together.
3. Trim with lace, ribbon or (in my case) rick rack.
4. Sew, front and back panels right sides together, around 3 sides and partially on the 4th...leaving a 3" gap in a long side for turning.
5. Stuff with polyfiller.

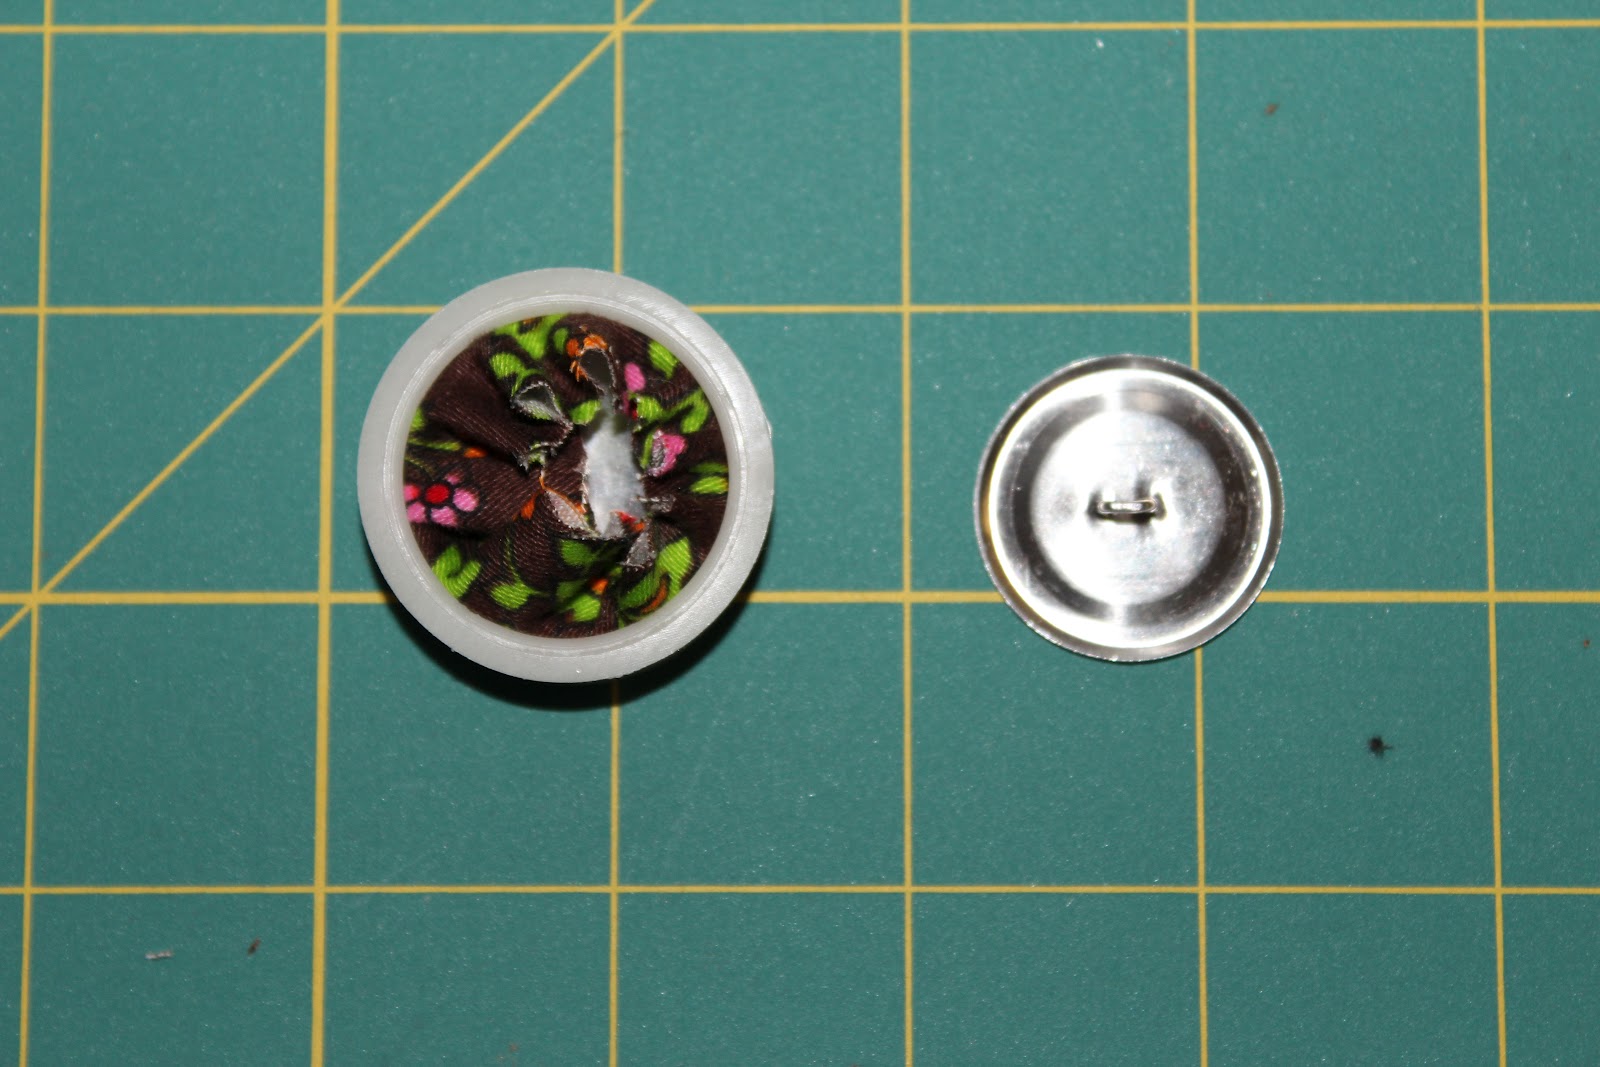
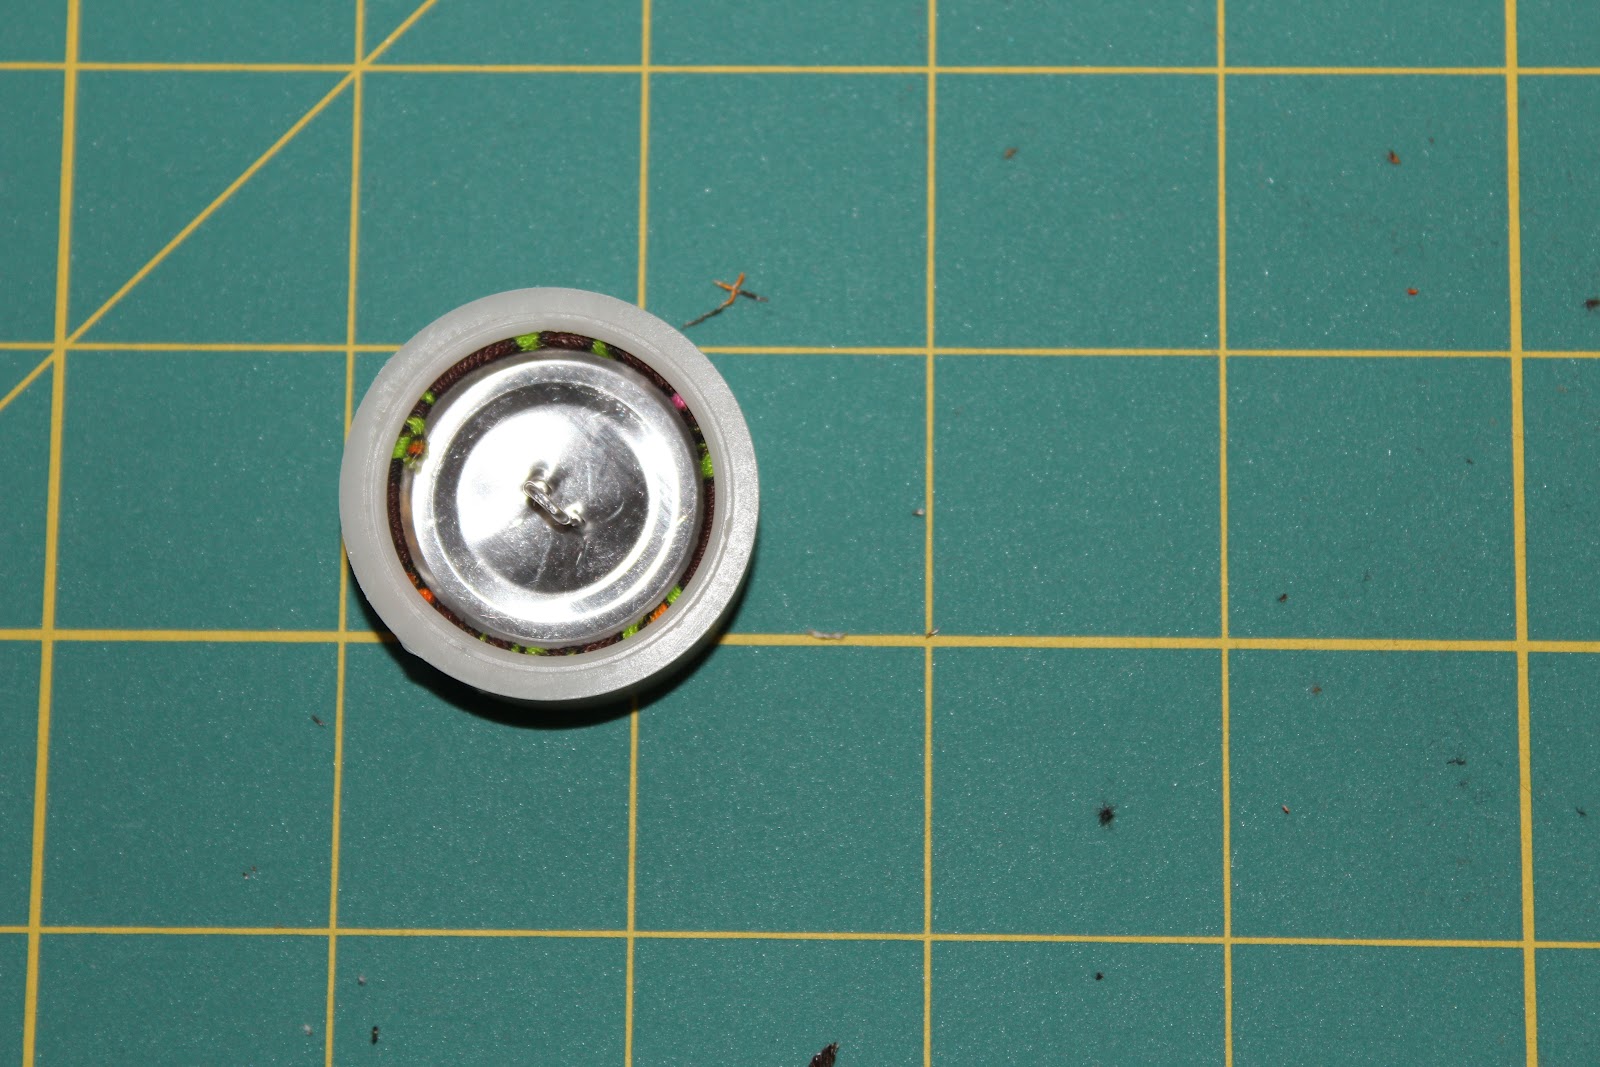
6. Make fabric covered buttons using the kit.


 7. Hand stitch the gap closed.

 8. Sew from front through to the back and back out again.
 9. Pull until there is a little indentation in the pouch. Attach buttons on both the front and back with this thread.
 10. Add pins (just to make it look authentic).

Upgraded Give-Away


The Charm Pack now has needle friends to travel with to your place. Entry to my give-away is here. And Kristy's give-away is there.

I am linking up with...
Zakka Style Sew Along

Sew Happy Geek


Friday, 13 April 2012

Zakka Style House Pouch

I was not planning on doing this week's Zakka Style Sew Along project. I'll have to amend my 'April To Do List' now. But I am so indecisive about my next quilt project (and I didn't want to piece a quilt back) that I just wanted something small and acheivable in half a day of sewing.


Charmed Give-Away


Just a reminder for you all to post an entry or 3 into the 'Tandem' fabric giveaway here on Finding Fifth and there on 'Quiet Play. We 2 small bloggys have 2 adorable charm packs to ship out to 2 lucky winners. And with ONLY 18 people entered into mine so far, you are in with a ripping good chance!


                                            Petite Odile Charm Pack


Here's how I put it together

1. I cleaned my iron from the carnage of the Zig Zag tote meltdown!
 2. Fetch the materials. Most of these were scrap. Scrapbuster Yay!
 3. Cut them all out.
4. Iron on all the interfacing. This time I used my OLD iron and a non-stick applique mat to avoid melting glue onto my iron again.
5. Pin the applique features in place. I opted for square 2" windows and a 21/2" x 4" door rather than use the template in the book. Mostly because I didn't know how to enlarge it by 200%.
 6. Applique the features on using a tight zig zag stitch. I used all 3s in my settings including the thread tension.
 7. Here I decided to handstitch the flower stems and buttons on whilst I was trapped in the chair at the hairdressers. Very soothing...I should try more hand stitching! My mum would have approved.
8. Now that I know how, I added zipper buffers. (However these created a bit too much bulk in the end stage though).
 9. Sandwich the up-side-down zipper between the exterior piece and lining with right sides together.
 10. Pin well and stitch 1/4" in.
11. Do the same for the other exterior and lining piece.
12. Then, with the zip halfway down, attach the back and the front exteriors right sides together.
 13. Pin and stitch all the layers  in place. Here you can see that I pinned the bottom layer diagonally and then the top straight.
 14. Open out and press into place the layers.
 15. I then stitched the zip down through the layers as well. (Don't my zip buffers look lovely and neat here? But DON'T put them in! Because of the nature of the lining and house assembly, in the next stage, they just got in the way and came out all scrunched up. I tried to fix them as best I could. So stick to the original, no zip buffer, pattern).
16. Pin the exterior pieces right sides together
  17. and stitch 1/4" carefully.
 18. Do the same for the lining pieces but leave a 3" GAP in the bottom seam for pulling the bag right sides out. You will also need to open the zip all the way down to complete this step.
 19. Snip off the corners. Pull the exterior panel through the open zip and then through the opening in the binding. Push out the corners. Now that they are smiling at each other from across the zip line, sew the 3" gap in the lining closed.
 20. Push the lining inside the pouch.
21. I added ribbons in pink, white and wine to the zip. These were offcuts from my t-shirt hangers, hanging around in my ribbon box waiting for a better gig in life.
22. I had some whimsical Japanese fabric that was ideal for the back of this pouch. It was a newsprint style. The writing under the piggy says..."The best time to of the flower is about one week. Have the parasol because the sunlight is strong." Priceless!
 23. I had to extend the bird stand. 
 24. Button detail. I had seen another pouch where the buttons were stacked - clever idea. Other pouches had flower shaped buttons - even more clever. Sadly not in my stash - yet!
And that's the whole journey. So much easier than the Zig Zag tote but not without its challenges. I am enjoying learning new things with this Zakka Style Sew Along. 


I am linking up with...